For reference, please vitis Forgeworld's Whirlwind pics:
http://www.forgeworld.co.uk/whirl.htm
Aaand my version:
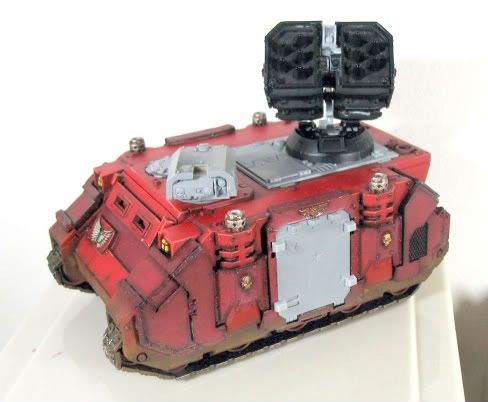
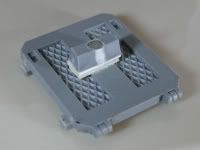
First-off: the turret:

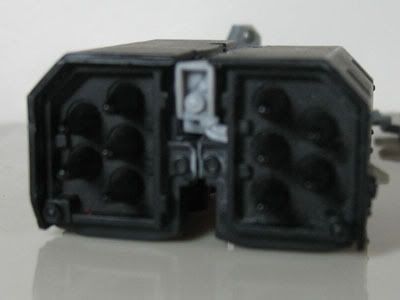
- decided to permanently place it on one of the top-plates: surely we're gonna get extra bits of those after a few predator/rhino kits
- magnetized the mount since I plan on converting a Damocles command Rhino some time in the future
- removed just enough plastic from both sides of the "pallet" so they mate with each other
- 1/8 x 1/8 magnets on the rear to coincide with the magnet on the mount
- detail in-between the front: from the hunter-killer missile bit
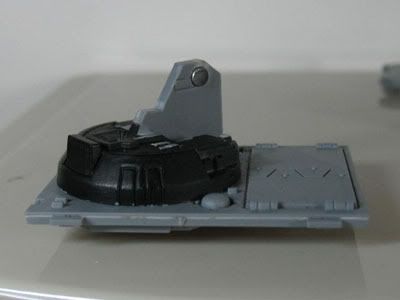
Next: the sensor "mini-turret"

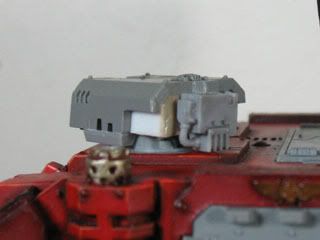

- the "cover" is from the heavy-bolter turret of a razorback/land-raider (which I have to come-up with again once I decide to finally continue with my landraider
 )
) - the turret sits on the "peeping-top" bit from the vehicle command sprue
- notice more of the hunter-killer missile bits up front (sensor and part of the HK body assembly glued on it's side
- the small lens up front-mid is from the searchlight bit of the SM vehicle command sprue
Lastly: how I magnetized my Rhino doors:
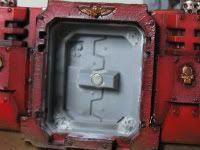

- as you can see, it was a recepient for Predator sponsons, which fortunately was lightly cemented (next time I'll use PVA glue for such applications)
- The FW extra-armour are applied with PVA glue (to allow some flexing)
- 1/8 x 1/8 REmagnet down there (lines up just fine if I put something ferromagnetic behind the sponson... loose-change anyone?)
- notice the stubs on each corner of the door: this is to prevent the door from sinking into the hole (and to line it up with the extra-armor)
Hope this inspires you to convert one for yourself, if you have any questions/comments/suggestions, please feel free to discuss it in my B&C thread here
No comments:
Post a Comment